
Bench made from door – tutorial!
I LOVE old doors and even more i love repurposing old doors! Lately i have come across tons, so ive been thinking of some new ways i can use them. This isnt my original idea, i had seen it here and there over the last year and finally found the perfect old door to try this project on :)

Actually, its not really even an “old” door. Its probably fairly new, but its super tall and solid so i took it back to the shop with me. It had just the right layout of panels for me to make the cuts where i needed them. All doors are going to be different of course, so your kinda just going to have to lay out the door and imagine it like a puzzle and figure out where you can make the cuts.
I began by making a line that was just above the middle of the door – you can kinda see it in this pic. Top half would be my bench sides and bottom half would be my seat and back. The door was thick and solid wood (which you will need a solid door, not one of the hollow core ones), so i cut most everything with my orbital hand saw.
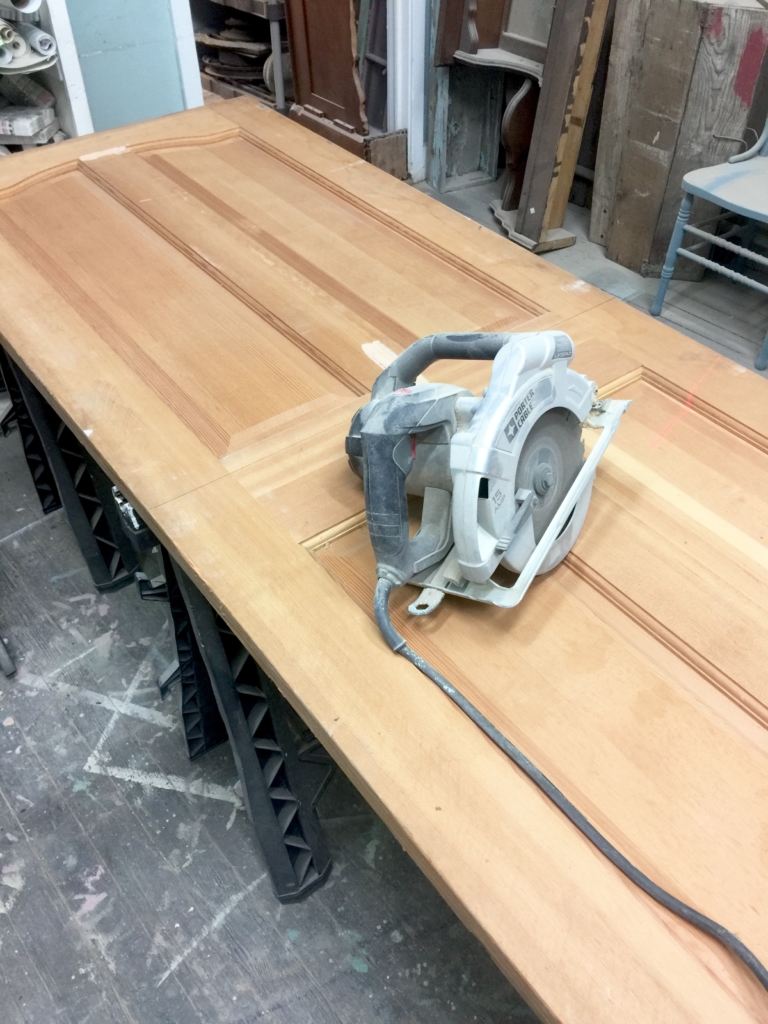
After cutting the door in half in the middle cross wise, i cut each half down the middle length wise. Now i had 4 pieces of the door.
Once my door was cut – all the pieces started breaking apart! Apparently they didnt use glue to build the door, it was all just kept in place with the wood frame, so i had to take the pieces apart and glue them all back together.
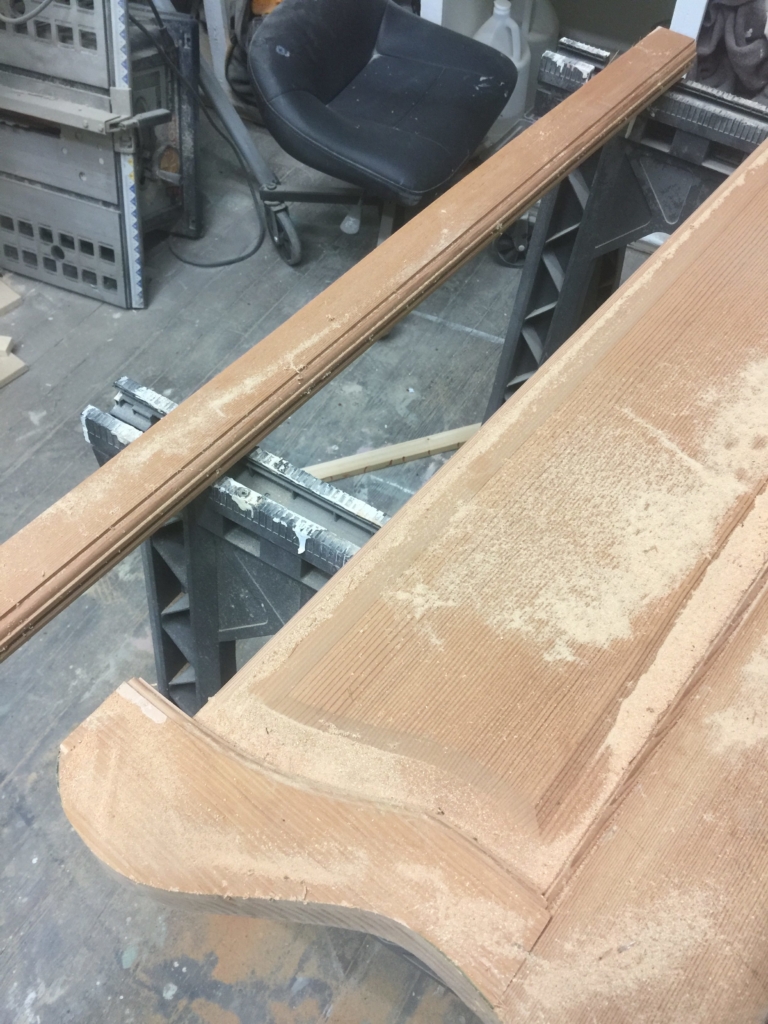
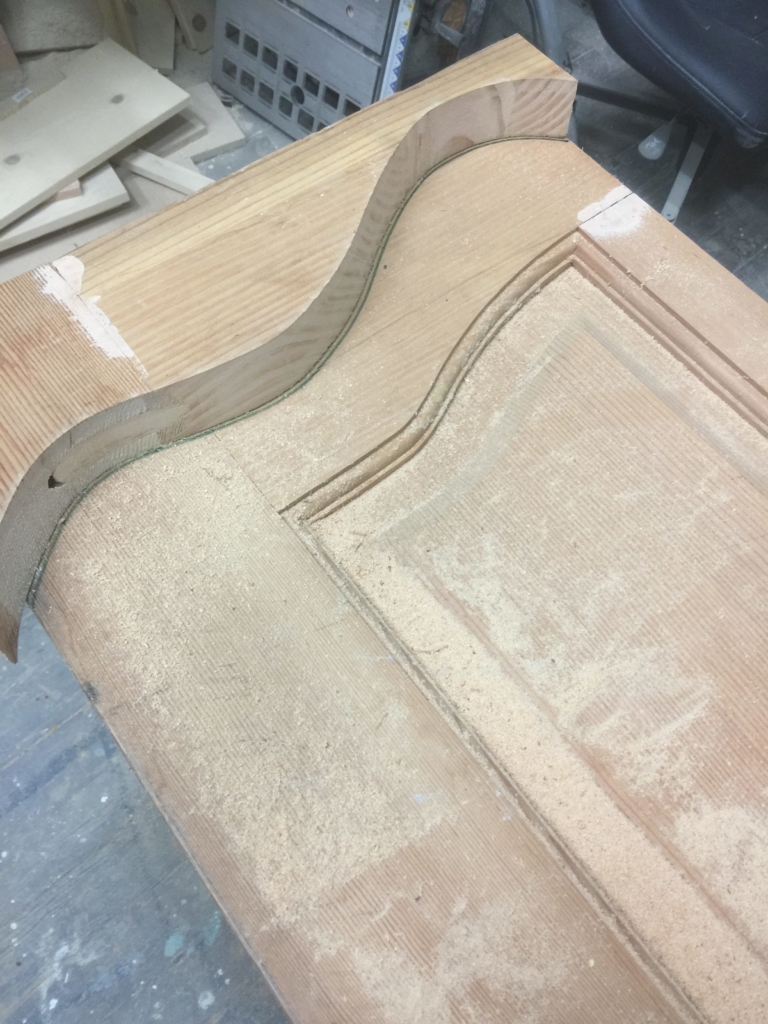
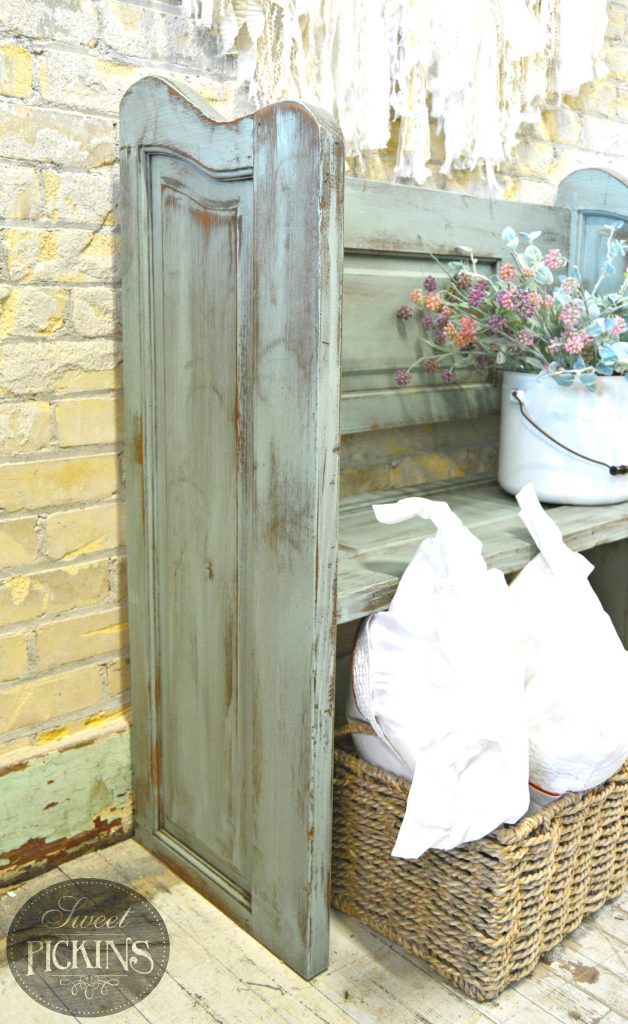
I decided that since the top of my door had the arches – they would become the sides of the bench.

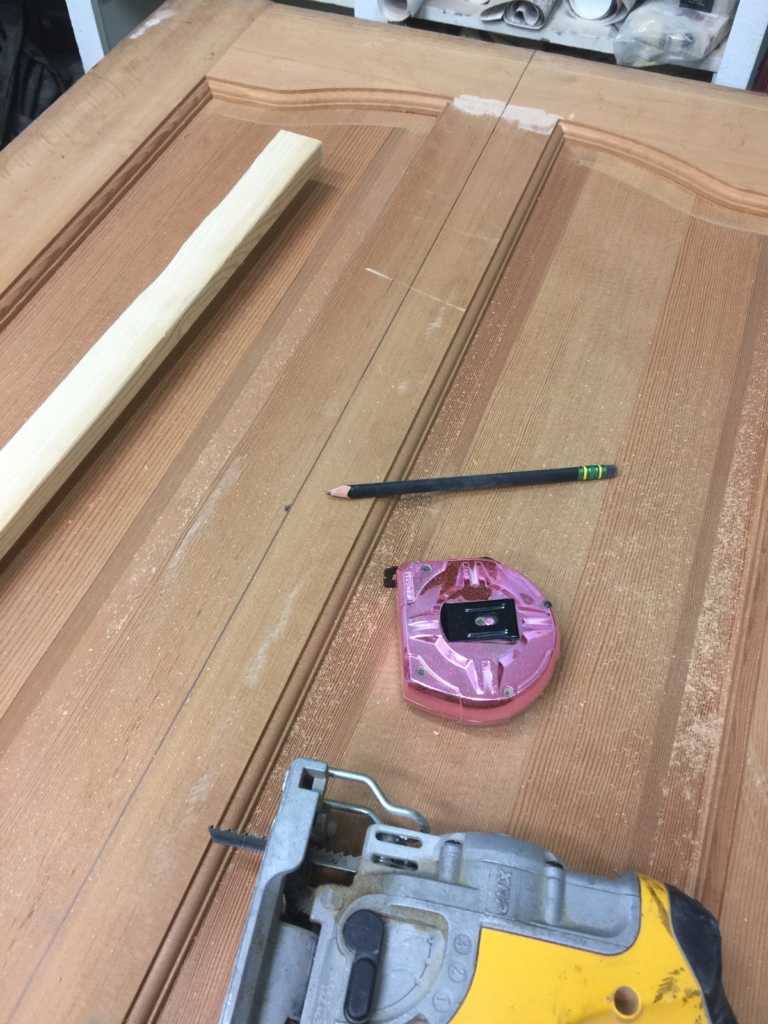
I then just got a pencil and played around with how i wanted to cut the tops of my bench. I made a bunch of marks and decided what i thought looked best. And really you wouldnt even need to cut anything of the tops if you didnt want too – you could totally leave them straight.
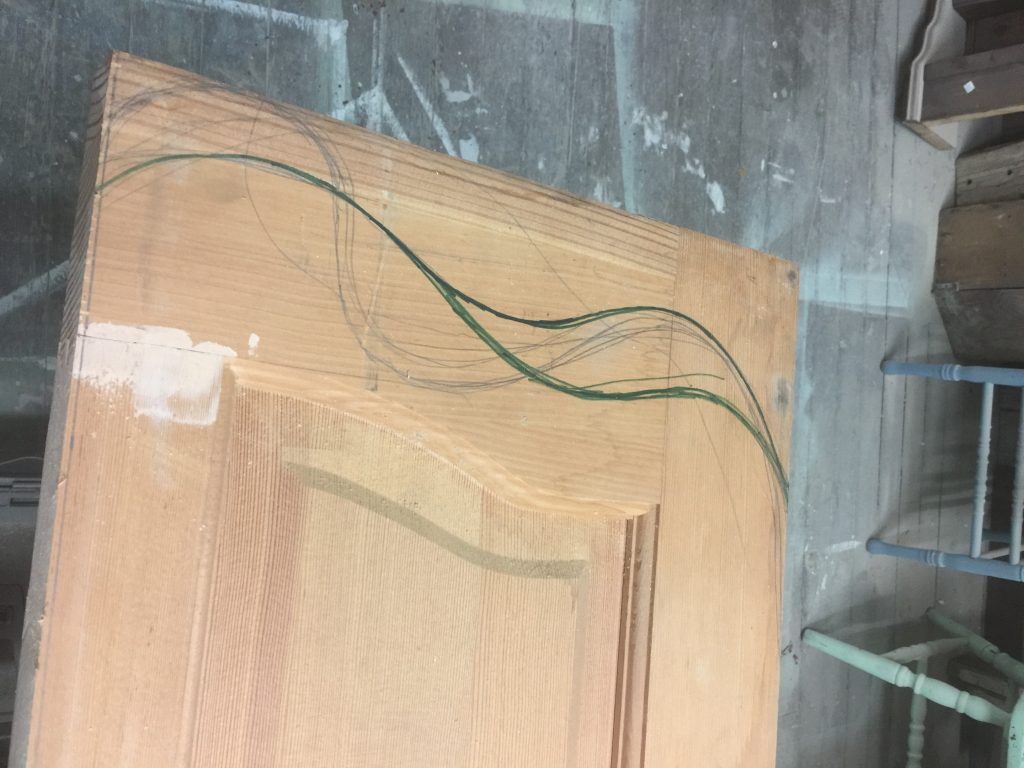
I cut out the curved parts with my jigsaw. I took the scrap from my 1st side and used that to trace the shape on the other side of the bench so they matched perfectly.
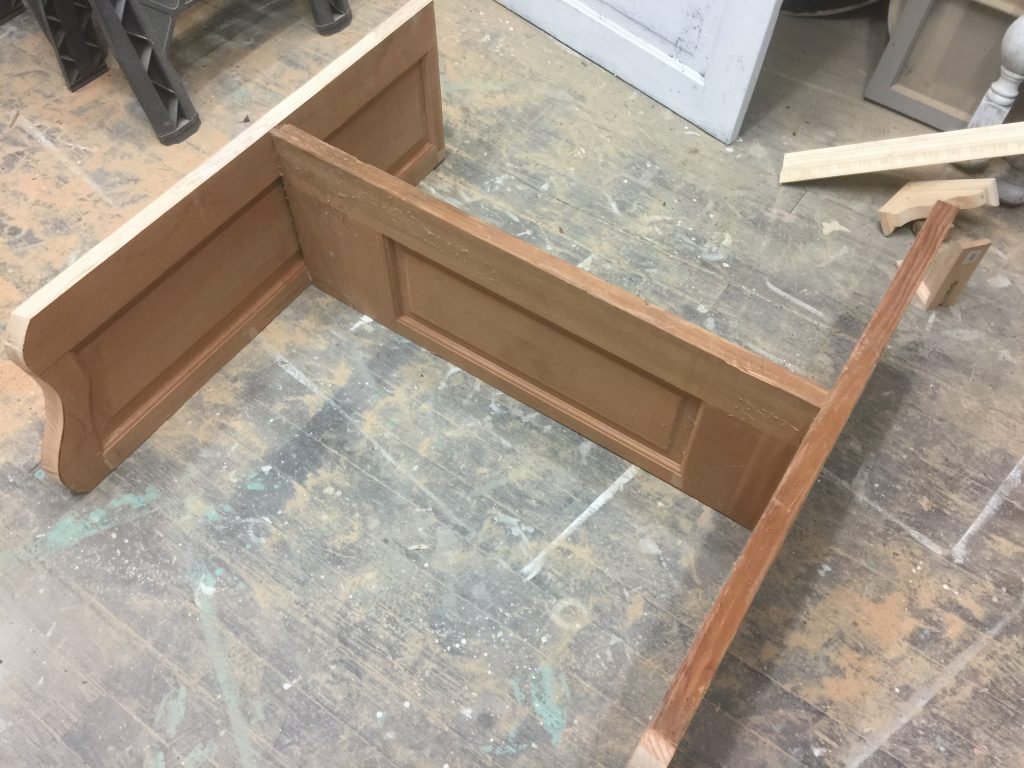
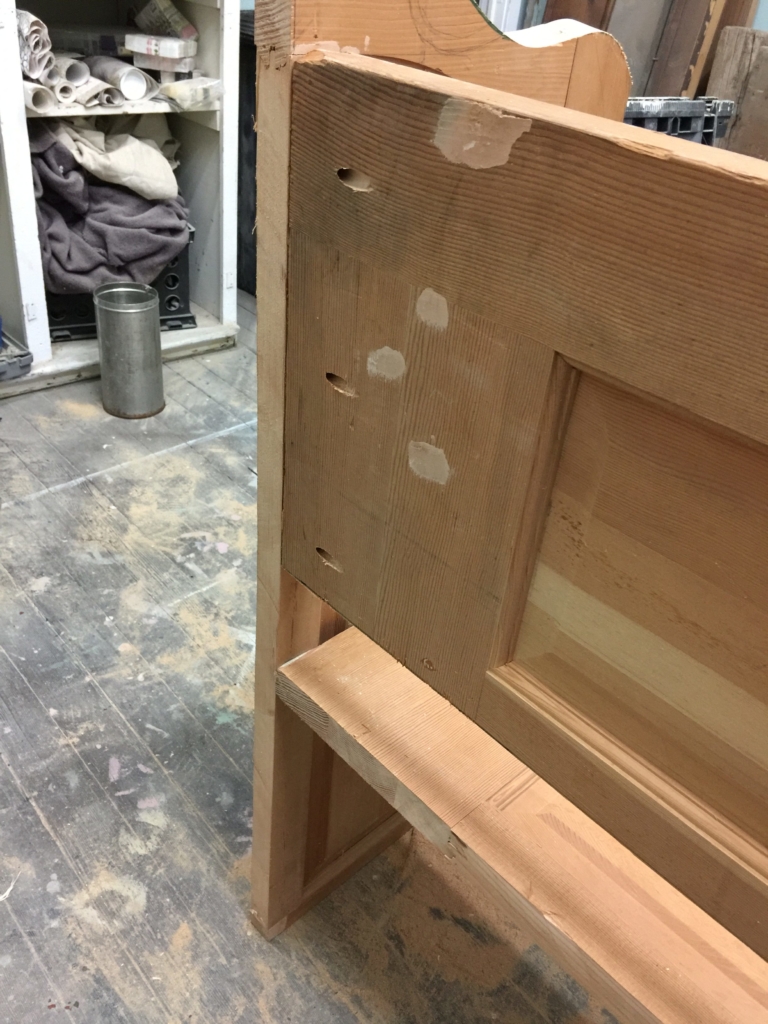
After getting all my boards cut, i drilled pocket holes with my kreg jig. This made it really easy to put together and it was nice and sturdy.

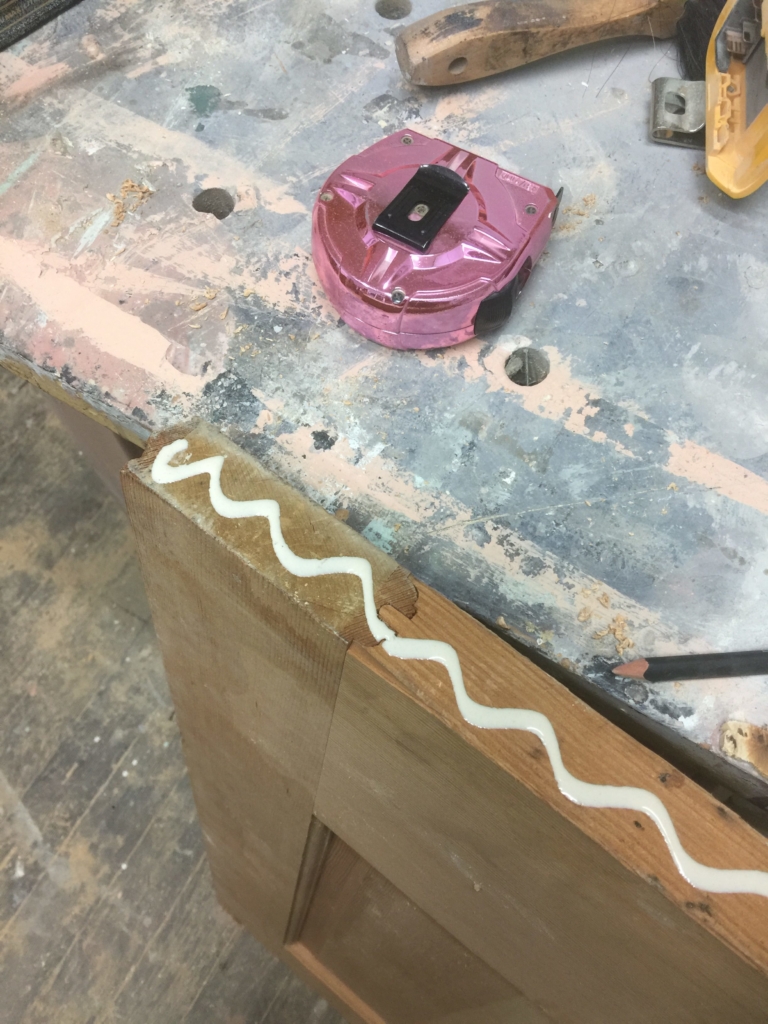
Then i just glued and screwed it all together!
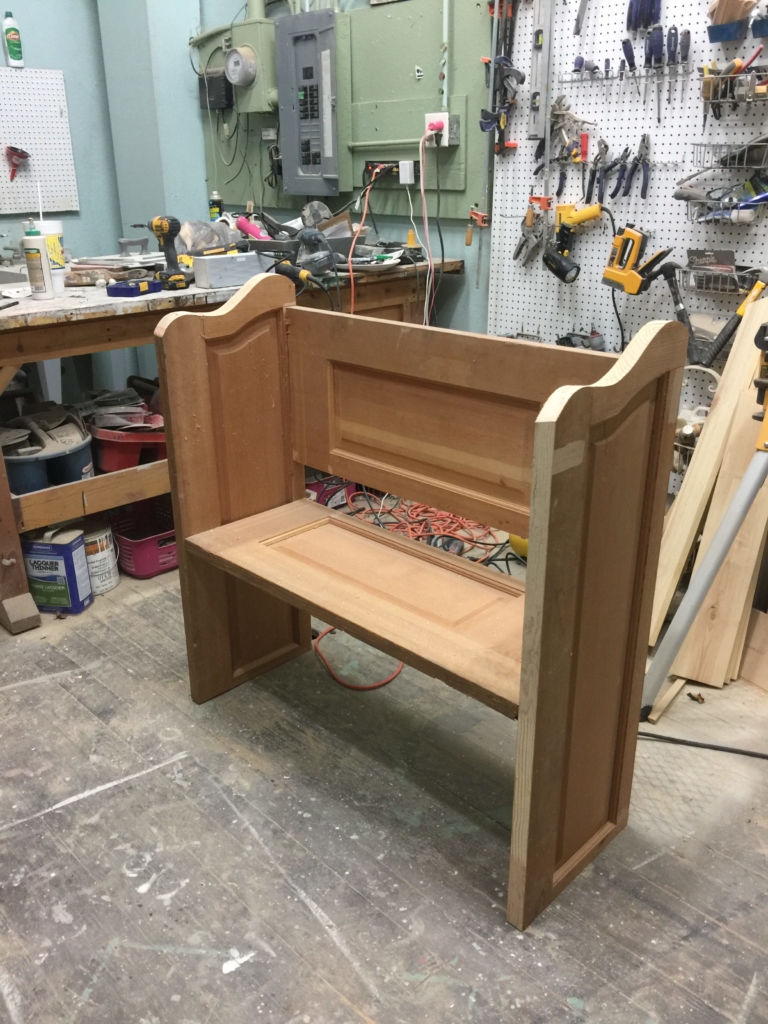
My pocket holes from the back – just 3 on each side.
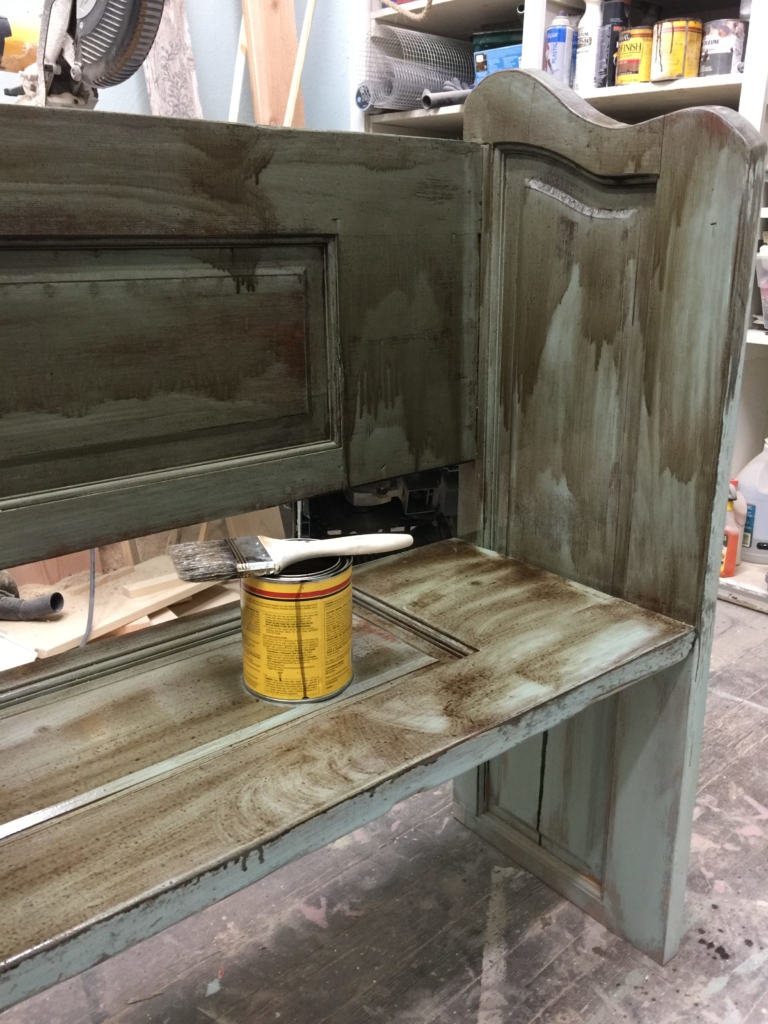
Then i gave the whole door a light sand, especially the edges where i cut and got to painting! I wanted the door to look rustic and didnt want to cover all the wood, so my little trick is to intentionally leave a lot of spaces unpainted.
I decided to paint it with my favorite color, Sweet Pickins Milk Paint in Sweetie Jane.
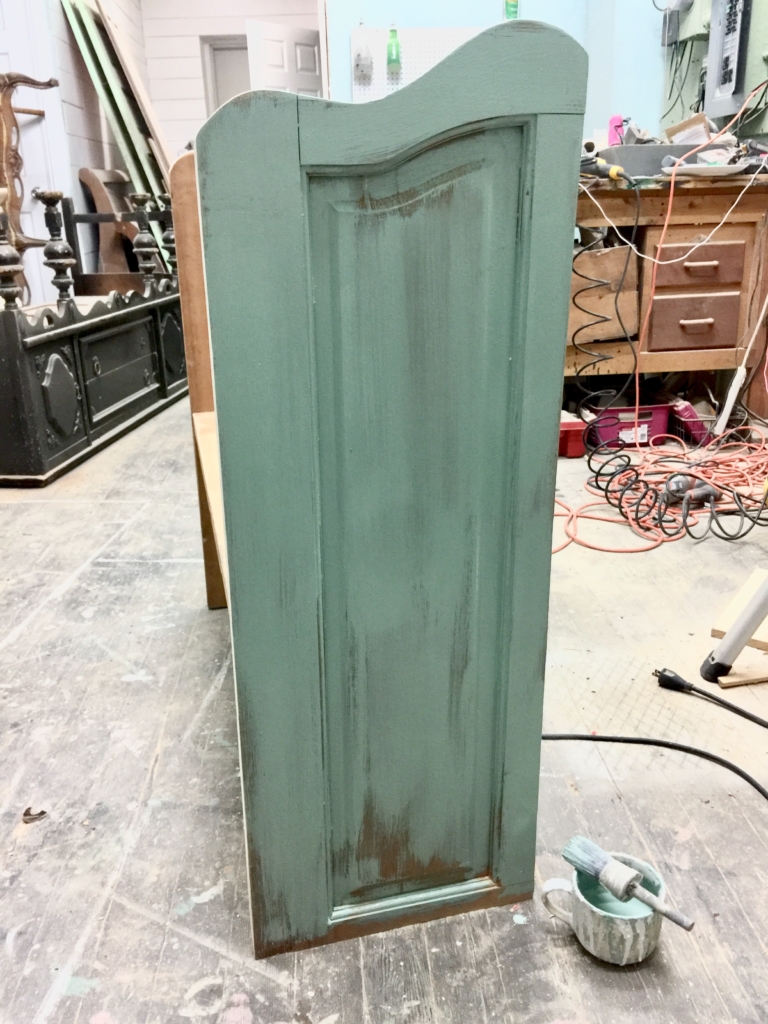
I knew that the bare wood would suck up the stain glaze i was going to do, so again i left lots of bare spots and only did one coat of paint.
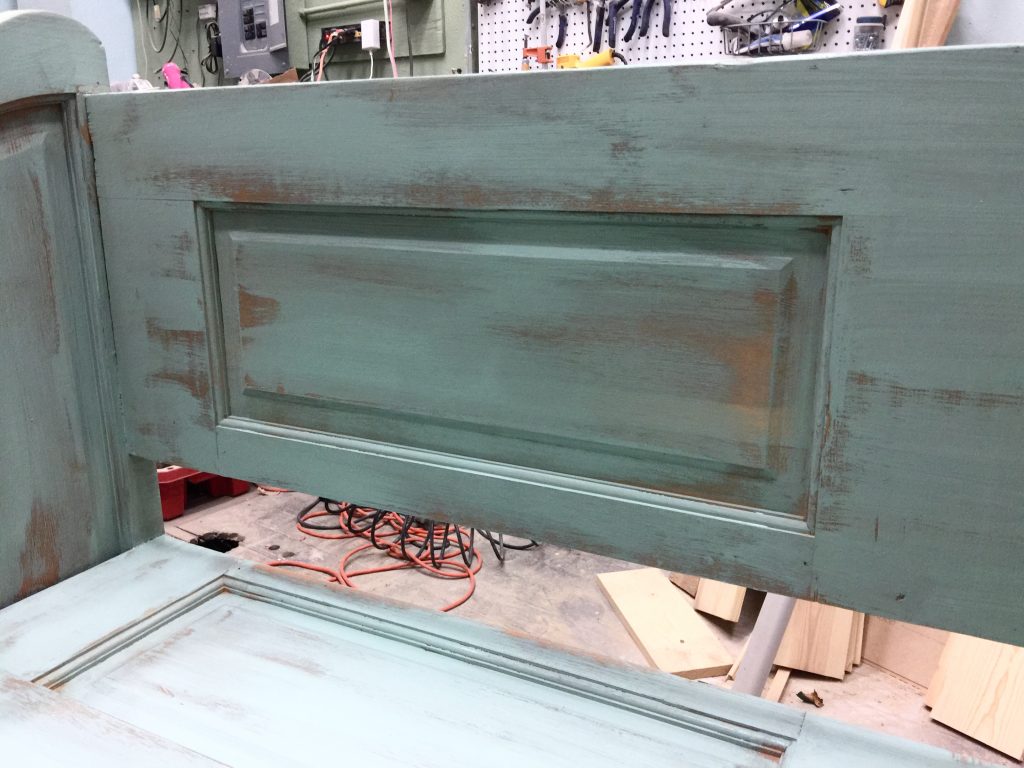
After it was all painted, i sanded the bench to smooth out the milk paint and distress it more… (FYI, i skipped the Extra Bond on this one as i was painting a raw wood door and i knew the milk paint would stick very well.)
I decided that i wanted to glaze the door rather than dark waxing it as the stain would seep into the wood grain and darken up better than wax. To glaze – i used minwax stain in the yellow can and just slathered it all over the door. It dries pretty slow, but i usually work in sections. I apply it with a cheap paint brush and then wipe it off with paper towels. If the stain sits a little too long and is hard to wipe off or if it turns your paint a bit darker than you wanted, you can just wipe it down with mineral spirits and that will remove more of the stain. Then just seal with any clear coat you want and your done! You have a fun little bench made from a door.
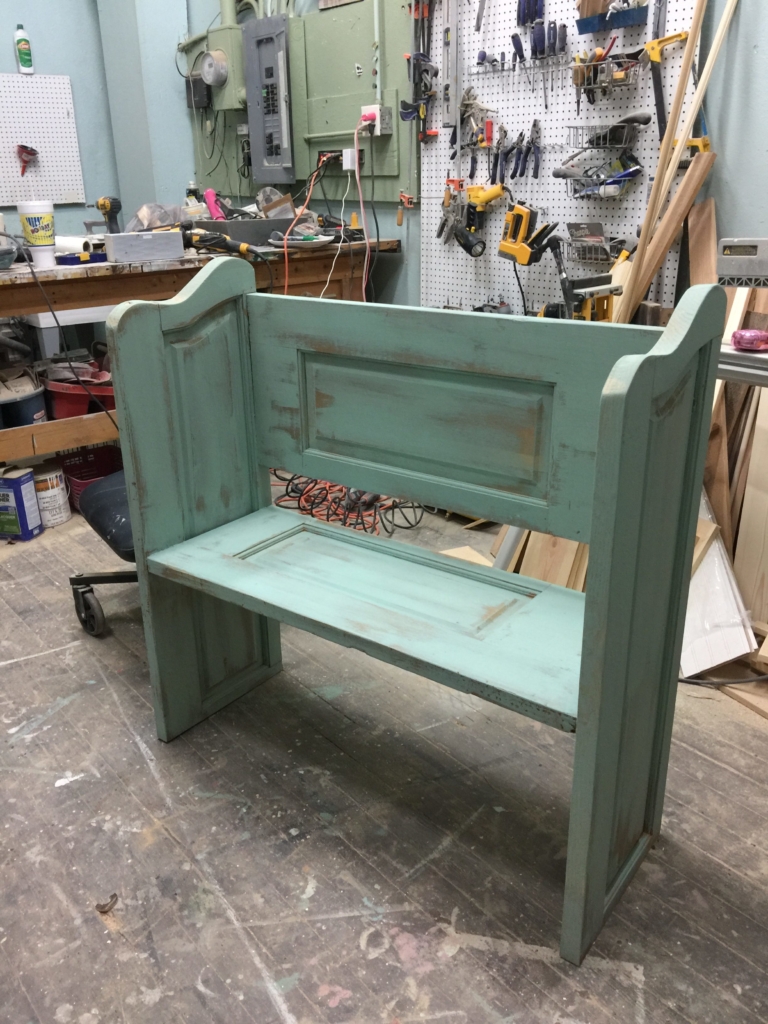
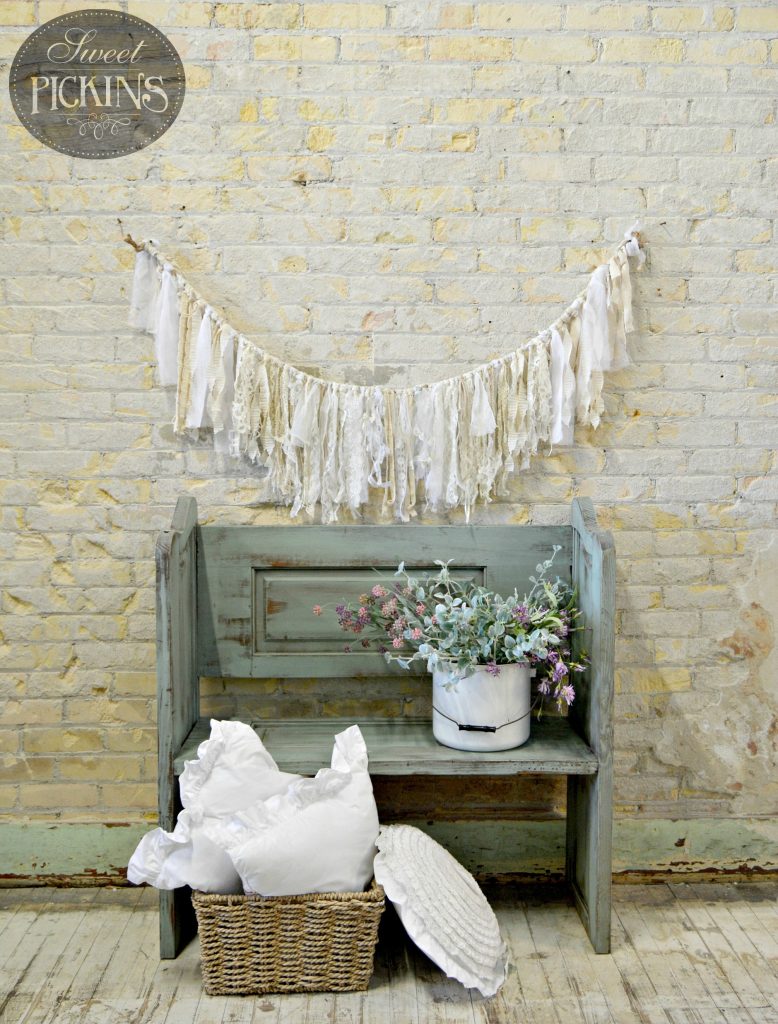
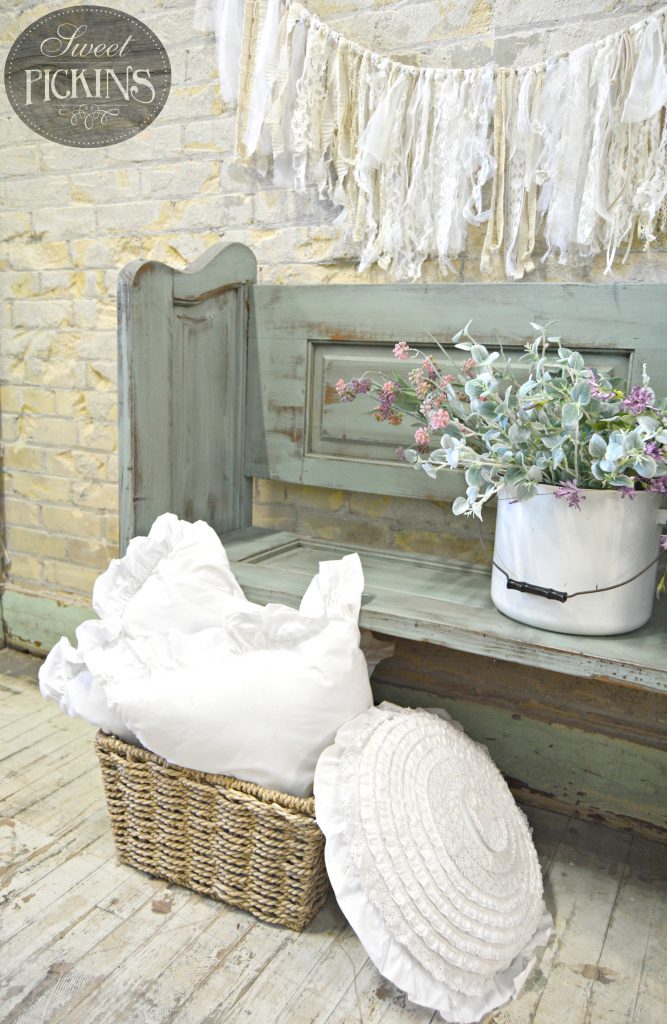
All finished and ready for pretty pics :)
![]()
![]()
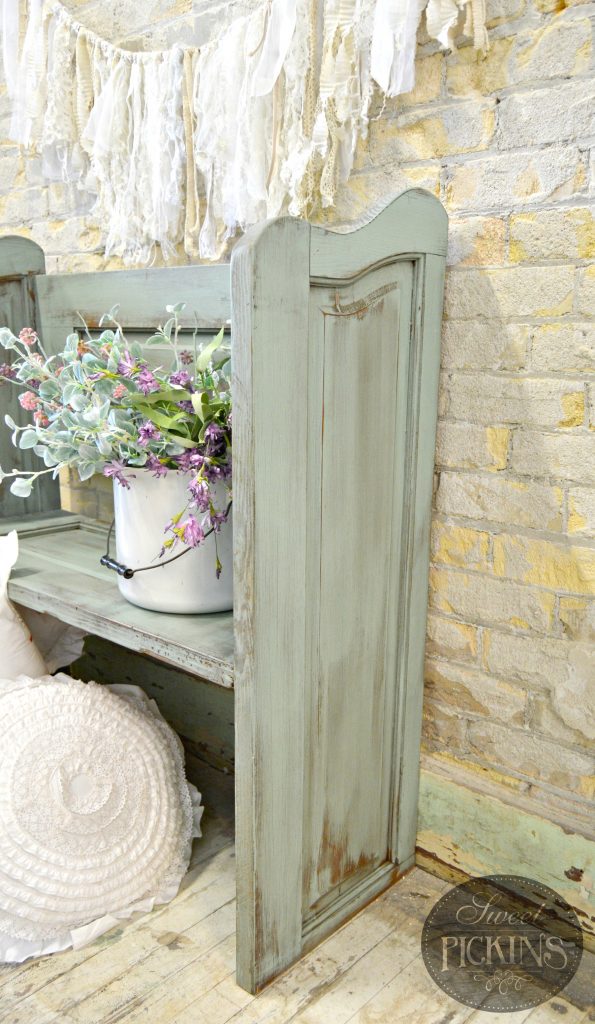
There ya go! A fairly simple project to do with an old door you have lying around :)


