
Dark Wax Tutorial

I know waxing for some may seem intimidating, especially dark waxing – but honestly its one of the easiest things to do and can make a huge impact. Im a HUGE fan of dark wax, i would say that about 90% of the pieces that i finish are dark waxed. The wax brings out all those incredible details, highlights the highs and lows in a piece of furniture, adds an amazing aged patina and picks up on all those little imperfections for a huge effect in the finished product. Almost every piece i paint, i dont just imagine it in the color that ive picked out for it, i imagine what the dark wax is going to do to that color that i chose. I get most excited when im about to apply that dark wax :)
In the pic below – both pieces are painted in a white. The top piece is just distressed with some clear wax and the bottom is painted the same color and then dark waxed. I applied the wax full strength and you can see how it dramatically changes the color, especially on whites/creams. I will show you how to control that a bit and what you can do to tone it down. But beware – dark waxing does affect the color that you have just painted your piece so you may want to test in a small area 1st to make sure your ok with the color.

…………………………….
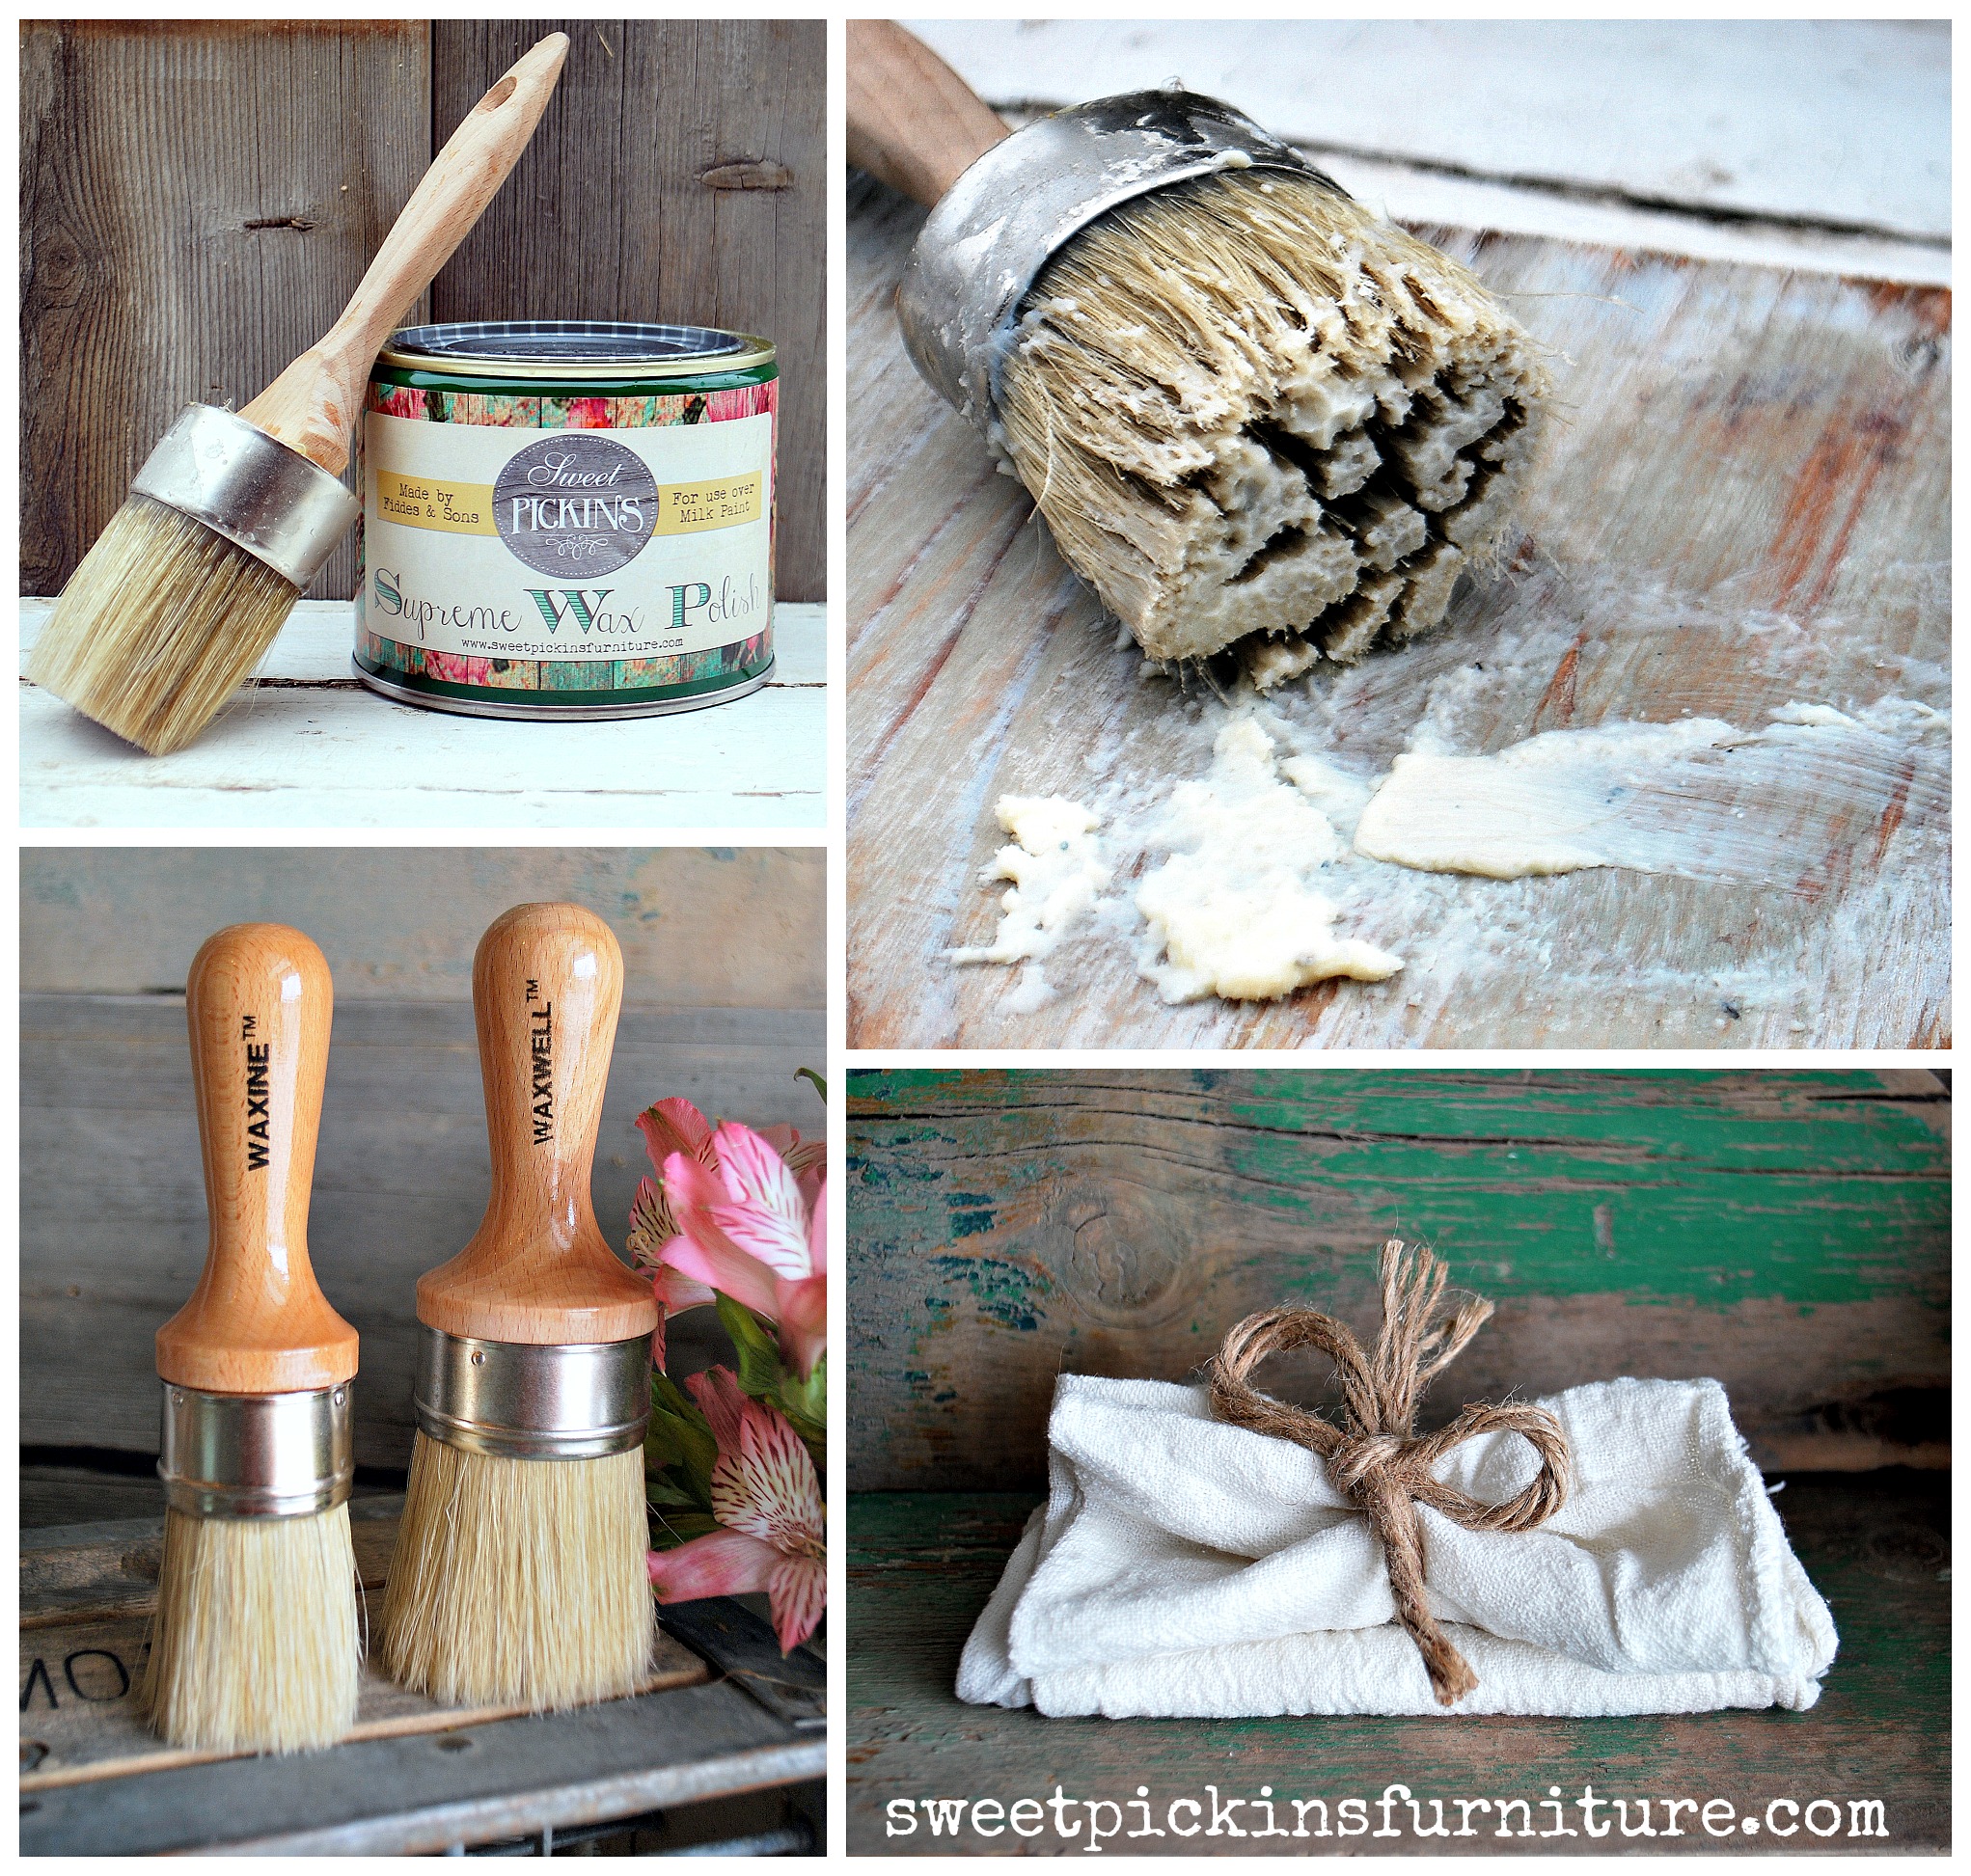
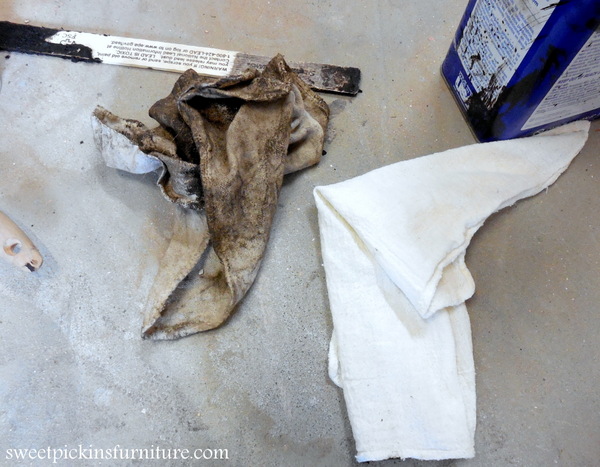
1st thing you will want to do is gather up your supplies for waxing. You will need BOTH clear and dark wax, wax brush(es), and some lint free cloths.
Obviously dark wax is needed, but its VERY important that you clear wax 1st. The dark wax is very intense and you will make a mess of your project if you skip the clear wax. You need that barrier with the clear wax so that the dark wax will go on smoothly and not blotchy and streaky. The clear wax, in my opinion, is what provides the protection. The dark wax just adds the aged patina. You can read my tutorial on clear waxing here.
Some people dont think its necessary to use the wax brushes. When i waxed my 1st few pieces i didnt use them either, i just applied it with a cloth. But as soon as you use one, you will never go without one again, i promise. They make the process fast, you will be able to apply less wax and most importantly you will get into all the nooks and crannies of a piece – this is especially important when dark waxing. Quality wax brushes are pricey, but well worth the investment and they will last you forever. I use one for clear and one for dark, but you can definitely just use one and clean in between.
Lastly, the lint free cloths are what you will use to wipe off the excess wax and buff your piece. Its important that they are lint free so that you dont get little fibers in your finished piece.
I will put in links at the bottom of this post for all the products that ive talked about and what i use. All of these can be found in my online shop – i tested tons and tons of waxes and other products before choosing what to carry along with our milk paint line.
…………………………………….
We are going to start with this cute little antique washstand that was just given a fresh coat of milk paint.
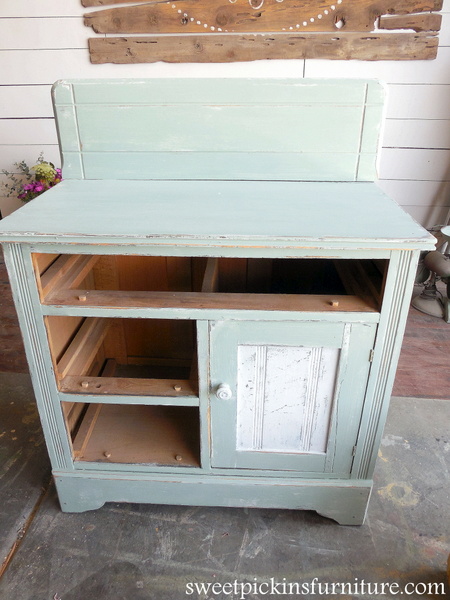
After giving the milk paint a final sand, i applied clear wax. You can read my clear wax tutorial here.
I am going to let you in on a little secret that will change your life. Especially life changing if you have tried dark waxing and gave up because it looked like crap, was a mess and way to hard to get even. Mineral Spirits. Mineral Spirits added to dark wax will make this process fool proof and i promise you will never hate dark waxing again.
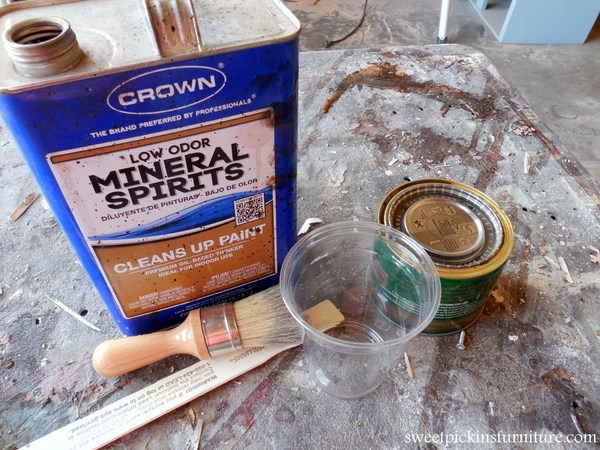
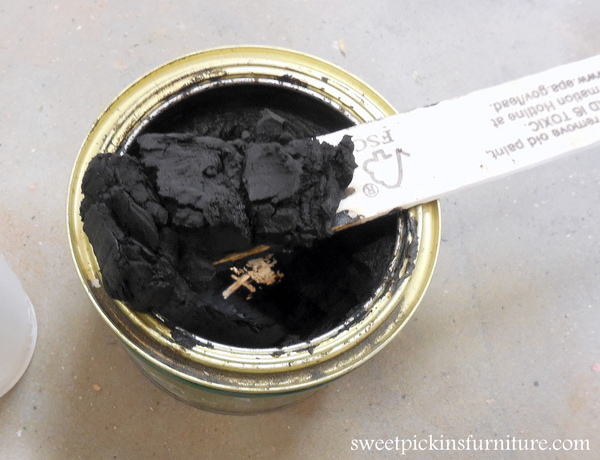
Normally i scoop out a chunk of wax and put it into a separate container for mixing up. I wouldnt want to add mineral spirits to my whole can of dark wax because i may want to use it at full strength for something. Mineral spirits also evaporates over time, so its best just to mix what you are going to use.
I dont measure, im just a guesstimator, but i would say that i normally start with about 1/3 to half a cup of dark wax at a time – depending on the size of my project and how intense i want my dark wax to be.
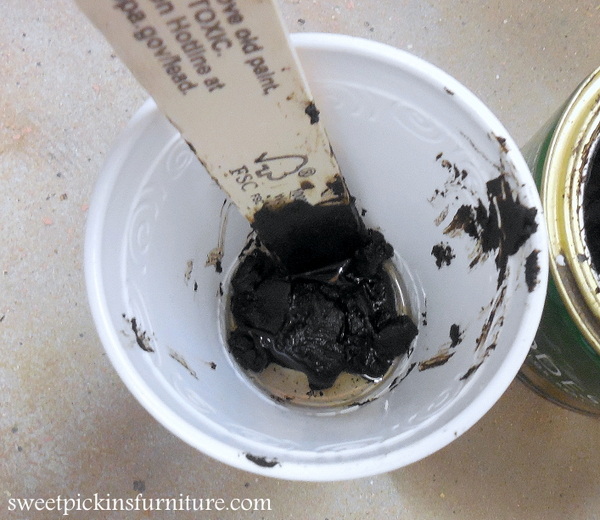
After putting my dark wax in a cup, i add my mineral spirits. You really dont need very much at all to get this life changing effect. I would guess for about 1/2 cup of dark wax, about a tsp or two of mineral spirits will be good. If you want a more toned down effect, then add more. If you want the dark wax look to be heavier, add less. This really is a time when you will need to do a bit of experimenting and see what works best for you. I tend to do it different for each project im working on and the look that im going for, sometimes i want it heavier and sometimes i want just a light look.
If you add too much mineral spirits and the dark wax look isnt strong enough for you, then just add more dark wax to your cup. If you havent added enough and are still struggling getting the wax even, add more mineral spirits. Easy as that.
You can kinda see in this pic below that i added a lot of mineral spirits compared to my wax – thats totally fine, just do some experimenting and see what works for you.
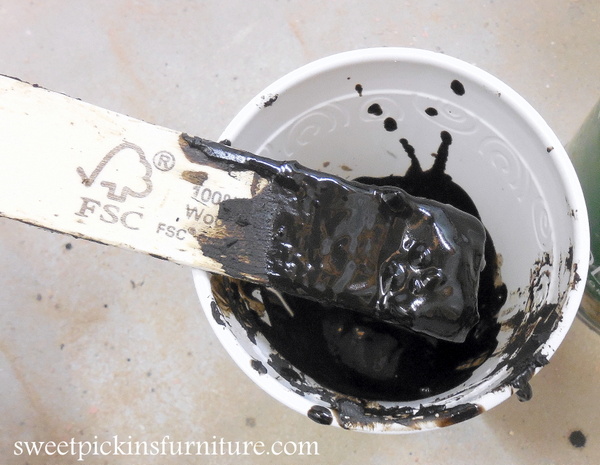
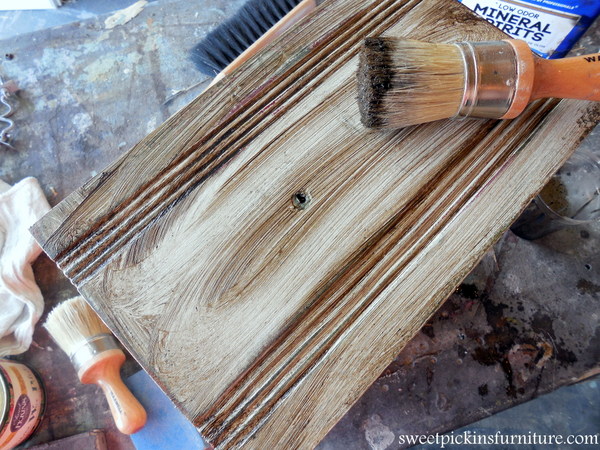
Then, just give it a good stir and this is about the consistency which i normally mix up. You can see how much different it looks from the picture up above when it was coming straight from the can.
Now comes the fun part – putting wax on that freshly painted piece to bring it alive!!
Normally, if you were using the wax full strength, i would suggest only applying the wax in small sections, removing it and then go to the next section. But, when you add mineral spirits, you have given yourself a lot more “open time” in which you have to work with the wax and make it perfect.
Because i have more open time, i can just apply my wax to one full section at a time. I normally work in sections such as the side of a dresser, front of a dresser, one drawer at a time, bottom of chair – etc. Depending on the temps in your work space and how much mineral spirits you added is how fast the wax will dry. I find that i have plenty of time to get the wax evened up and looking good when i work in sections such as these. If your wax is drying too fast, you can work in smaller sections or add more mineral spirits.
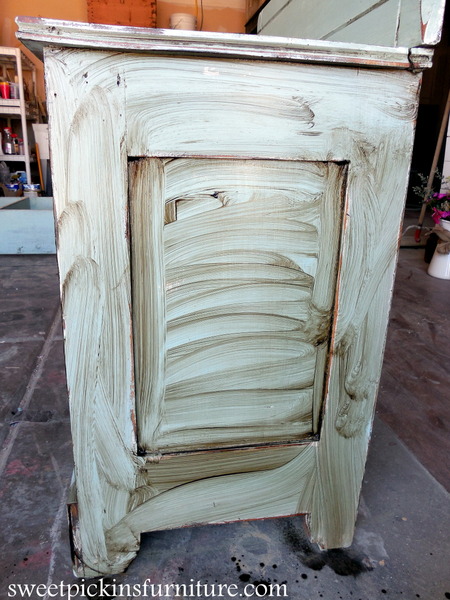
You can see in this pic – that it doesnt matter how you apply the dark wax. I just dab my wax brush in my cup, and then slather it all over. Its important to get the entire piece covered with the dark wax and that you are getting all the lines, nooks and crannies.
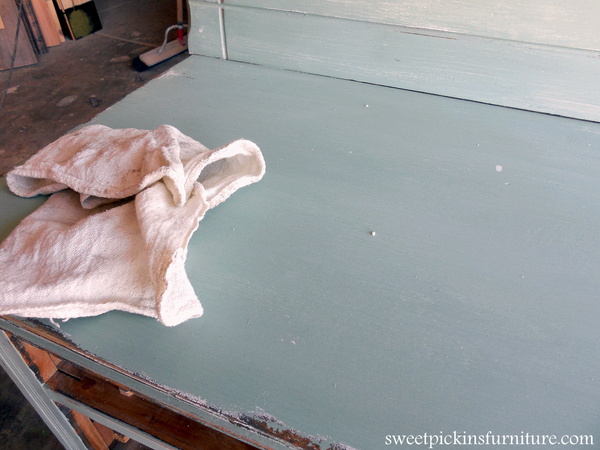
After applying the dark wax, i use my towels to wipe off and even up the wax. Normally i use one cloth to remove the majority of the dark wax. Then i take a 2nd cloth and use that one to make sure it looks even, not streaky or blotchy and wipe off more when i need to.
Below shows a pic after i have removed all the dark wax and made sure it looks even and all pretty :)
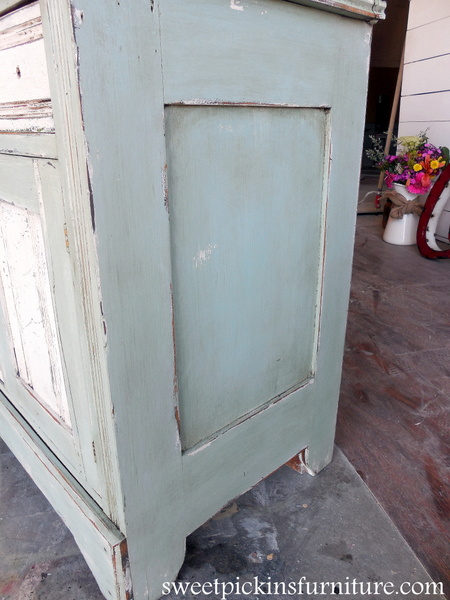
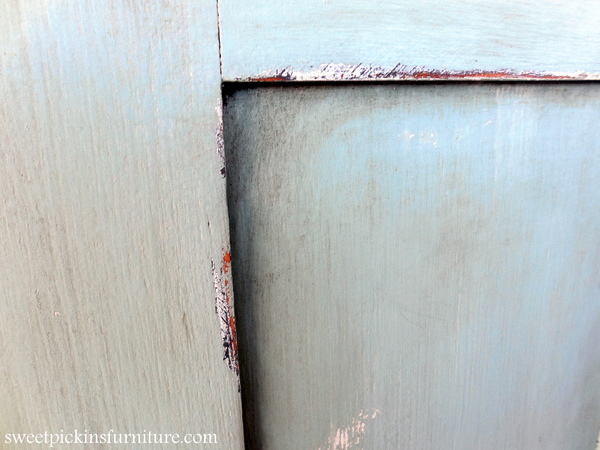
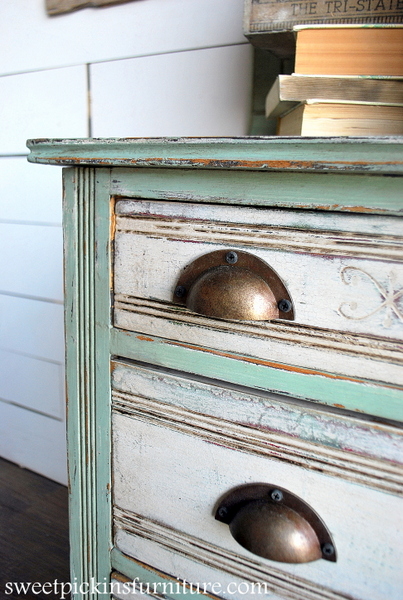
You can see in this pic how the dark wax picks up and highlights those little imperfections and makes them look like they have accumulated dirt over the years.
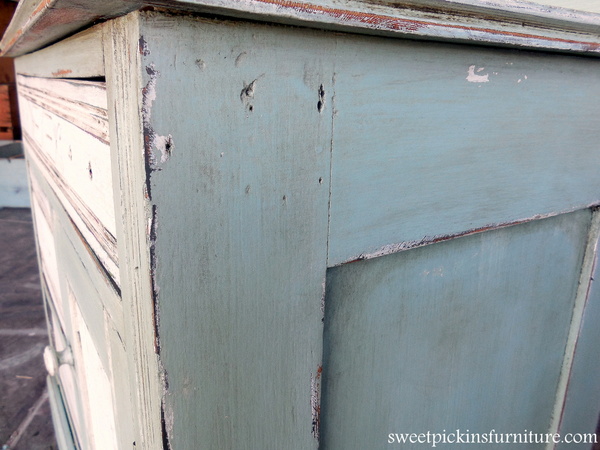
One thing that i love about dark waxing rather than glazing (which is what i used to do before switching over to mainly dark waxing) is that i feel like i have more control if i want to build up the “dirt” in certain areas like the corners or around handles or towards the bottom. Naturally, the dirt would accumulate in corners over time with years of washing and dusting, or dirt would build up around the base or the parts around the hardware that get handled.
To build up the wax in these areas, i will just take my wax brush and the leftover wax that is on it (dont re-dip with dresh wax or it will be too much) and just pounce it into these areas. Sometimes that alone is good and im happy with the look – sometimes i will have to use a dry cloth and do a little blending.
I would love to put together a little video on this process as well as dry brushing the wax – i will do that soon :)
Same process on the drawers…
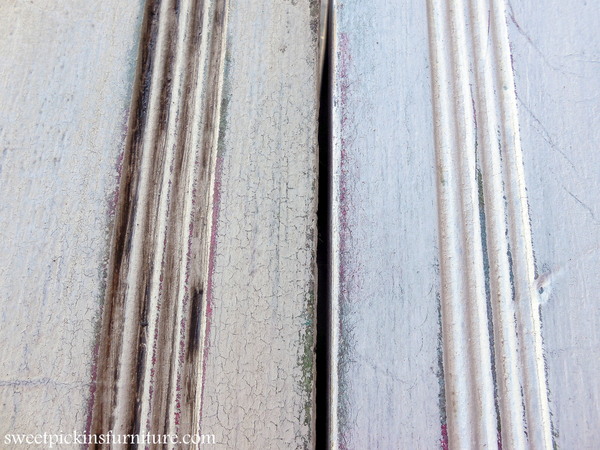
Side by side of a piece with and without the dark wax – notice how much it changes the white? If i wanted to lessen this effect and only add a slightly aged look, then i would simply just add more mineral spirits.
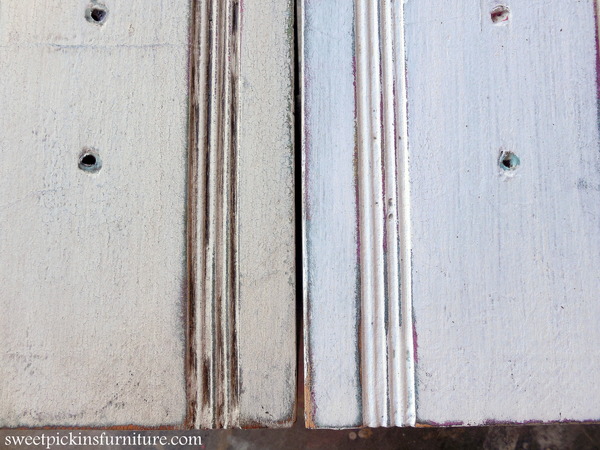
Also notice how the dark wax shows up in those lines? And how it highlights all that crackly goodness that happens with milk paint? That why i love milk paint and thats why i want to dark wax everything!!
After you have wiped off the dark wax and made sure it all looks even, then i normally leave it alone for a few hours, sometimes even over night and then come back and buff the piece so it has a little bit of sheen to it. Because the dark wax was mixed with mineral spirits, it will take a little longer to dry in all those little cracks and crevices and you dont want to wipe it and have it smear on your freshly waxed piece – thats why i wait before buffing. Sometimes i dont even come back and buff – just depends on the look that im after. You dont have to do it – its not necessary.
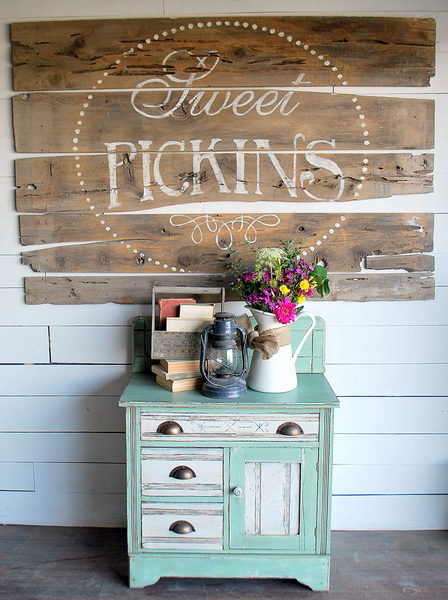
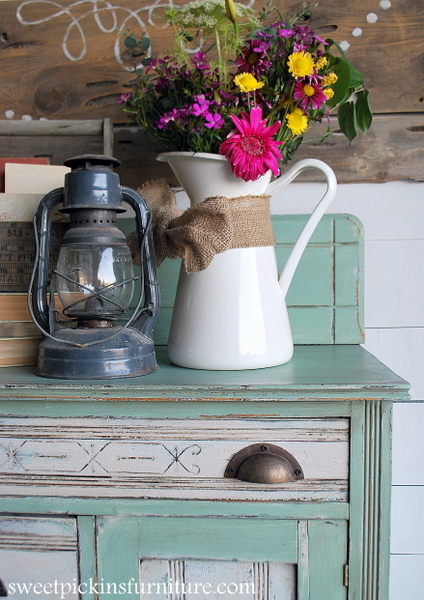
And the final pics! This piece was painted in Sweet Pickins Milk Paint in Sweetie Jane and Flour Sack.

………………………………..
Tips & Tricks
– Always clear wax 1st.
– Add mineral spirits to your dark wax. Life changing – i promise.
– Mineral Spirits can be found at any hardware store, its in the paint section.
– The new mineral spirits brand at Lowes smells like cherries. For reals.
– If you use the dark wax full strength or just want to tone down the look of your dark wax that you have applied, or need more time to get it even, you can soak a rag with mineral spirits and then wipe it all over and then go back over with a clean rag.
– Use mineral spirits to clean your clear and dark wax brushes.
– No need to add mineral spirits to clear wax, only the dark.
– Waxing is your final topcoat – no need to apply anything over it.
– If you like the look of the dark wax and want to apply it over an existing finish, you can. You can apply it over any finish, but no need to apply any other finish over wax.
– Wax hardens and cures over time making for a super durable finish.
– A lot of times, when the waxes have been heated they will melt and liquefy. This does not affect the quality of the wax whatsoever. Once the wax has melted it will not go back to its original state. A lot of people actually prefer to use the wax this way and melt it on purpose. Using it in its liquid state actually makes it a little easier to use especially if using it full strength.
– Some people like to just use the dark wax to highlight some of the details and not use it all over. Just make sure and use a clean rag to blend it in. You can also apply some clear wax over the dark to help with the blending. Some even like to dip their brush in clear 1st then in the dark and then use it to blend it into certain areas. This will help control the intensity of the dark wax and make blending easier.

