
{Vintage Footlocker} – Before & After
I love these quick makeovers that take just a few minutes and have a big impact – kinda like this old footlocker that i got about a year ago. This is one that is so easy that i almost didnt post about it, but i think its def worth sharing, because who knows who may have one of these laying around waiting for some inspiration to strike :)
Like i said, i got this about a year ago and havent done anything with it until a few days ago. Actually, i did give it a fresh coat of white paint, distressed it and then just put it away for a year. I didnt really have a vision for it, so i just pushed it to the side.
When i got it, the finish was perfect, but it was just really dirty and beyond what a good cleaning could take care of.
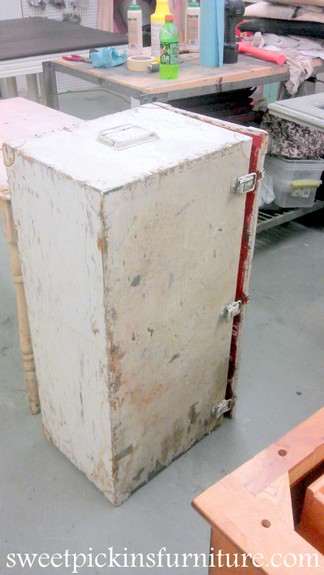
I gave it a fresh coat of white paint and then took my orbital sander to it to get it back to all that distressed goodness – an electric sander is the best and fastest way to get a super distressed finish on a flat surface.
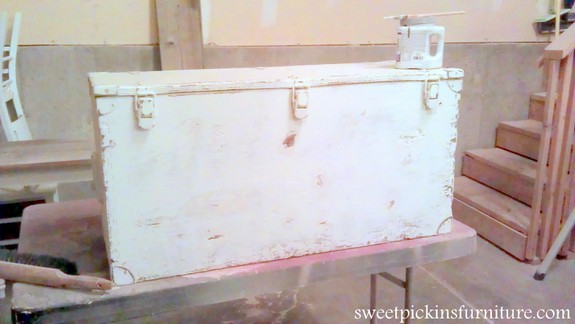
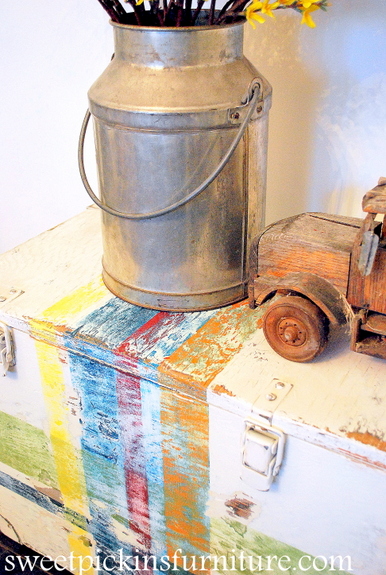
After i finally got it out from storage to finish it up i knew i wanted something fun on the front, i was thinking about stenciling some #’s on, but i wanted something more than that, some type of stripes.
I grabbed some masking tape and random paint colors from my stash and just started taping off lines. I painted one color and then immediately took off the tape and started the next color. I didnt wait for any paint to dry before starting the next color because i knew that i would again be taking my sander to it so i didnt care if the tape took off some of the paint. I also didnt measure anything out, i just eyeballed where i wanted my lines. And i made sure i didnt do the best job painting, again going for the super distressed look.
After i got all my stripes painted, it looked like this…
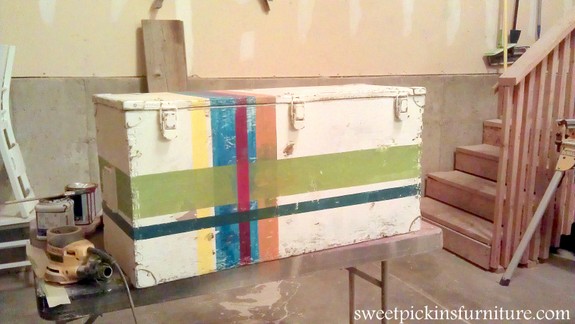
After my stripes were dry enough i took the sander to it and gave it a super distressed finish :)
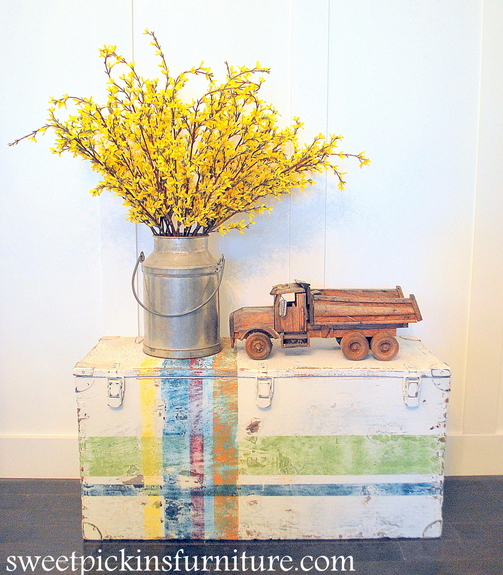
And when all done…
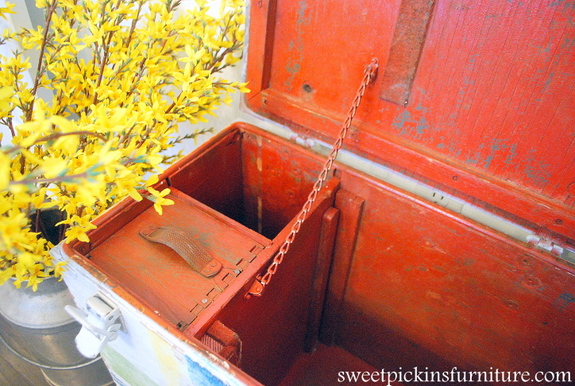
How cute is this inside?! This is the original paint, i didnt do anything to it.
As you can see i carried around my front stripes to the sides.
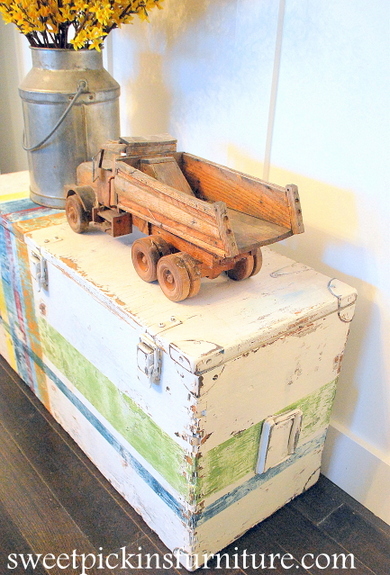
How cute would this be for a boys room at the end of a bed! I love those metal corner brackets, all the hardware and side handles are just awesome :)


