{framed mirror tutorial}
>
Finally! This mirror has been done for a little bit but i have just had too much going on to write this post (or any post!), but here it is…
First i have to tell you that this my third mirror and my last, yeah!!! And all 3 have been done different ways. I just went with a different style in each room and just made it up as i went along – that’s how i do things :)
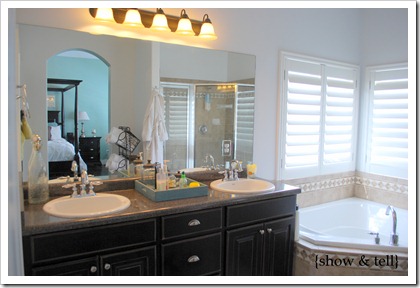
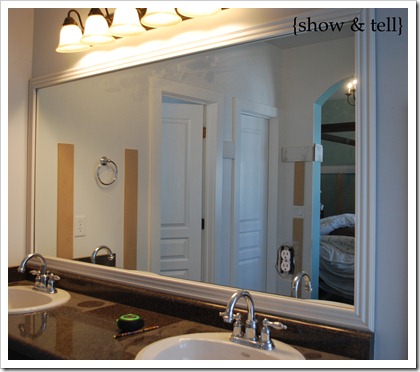
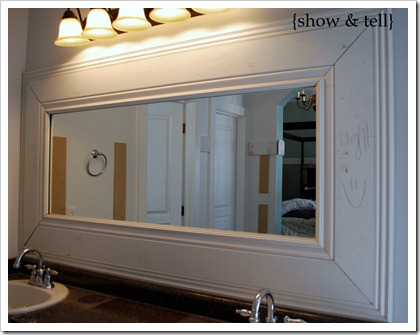
For this mirror, i had a little challenge. You can see in the 1st pic that for some reason the builder put a plug-in – in the mirror! Why?! I have no idea why they couldn’t move it over a foot – but instead i had this lovely mirrored, beveled, 80’s looking plug cover plate right smack in the bottom corner of my mirror.
I knew that the plug in needed to be covered up, so i had to make my frame tall enough to cover it – 9 inches. And i for sure could of cut around the plug-in but it wouldn’t look very good, and i will get over the fact that its gone, forever! That’s the price you have to pay for beauty i guess :)
So, here is the breakdown of how i did my mirror…
Before…also, don’t mind all the ‘undecoratedness” – this is one of my last rooms to paint
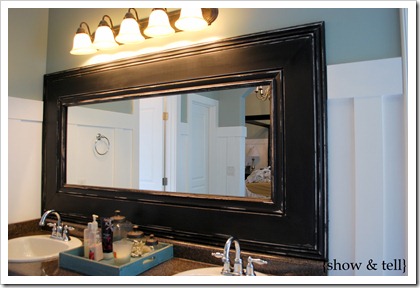
You can see that my mirror is pretty big, so making the frame 9 inches worked out OK. At 1st when i got it all up, before it was painted, i was a little scared because it looked so BIG but now that its all done, it looks good.
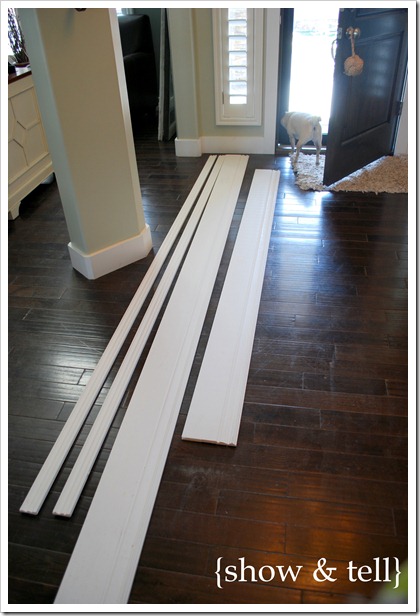
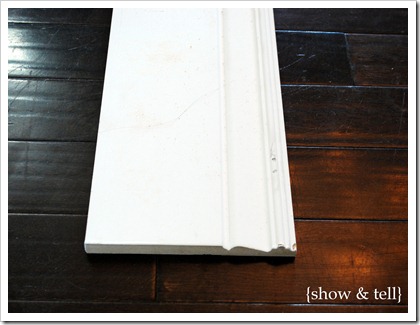
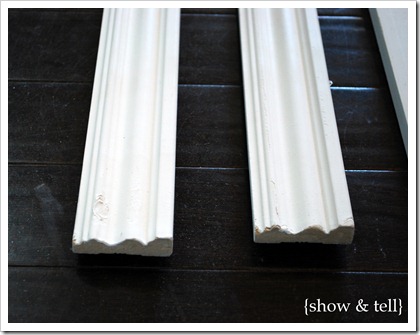
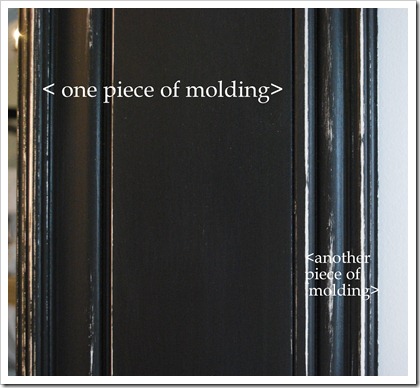
I bought 2 different kinds of molding. Base board molding and then just a chair rail style molding – both pieces put together were 9 in – perfect (this is different than how i did my other mirrors, i will get to that later)
Baseboard molding…
Chair rail…
I started by framing the outside of the mirror with the chair rail
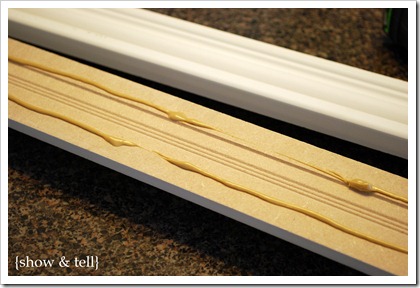
All that i did was measure it all up, made sure it fit, and then just glued it directly to the mirror with liquid nails. The liquid nails dried really quick, so i just sat with the mirror for about 5 minutes to make sure it wasn’t going anywhere – it dried super fast. In the past i have used duct tape to hold it to the mirror/wall but this time i didn’t.
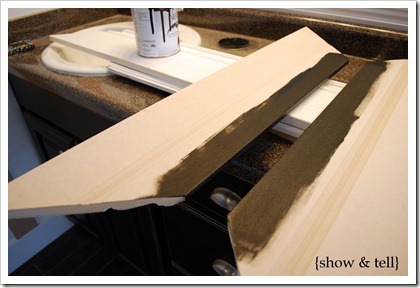
Next, i got all the base board molding cut. But before putting that up i painted the underside of the molding about and inch. You will see the reflection on the back part of the molding in the mirror, so make sure you get that painted, you don’t want to see raw wood.
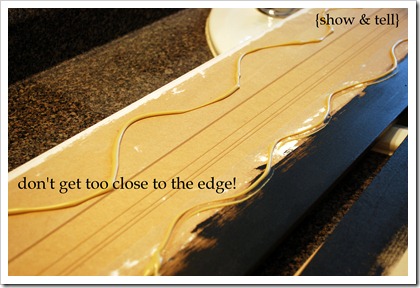
Another thing to remember is not to get your liquid nail to close to the edge of your molding. You don’t want to ruin your hard work by seeing a reflection of ugly glue in the mirror :)
Then just glue it up with liquid nails and step back to admire ;) This is the part when i thought i really screwed up! The frame was HUGE. My kids mirror that i posted about here is the same width, but for some reason this one looked GIGANTIC. I figured that it really stood out because it was still white, and also in this bathroom my vanity is taller than the kids bathroom.
You can see my corners needed to be filled, so i just used dry-dex and filled it in and then sanded it down before i painted. I used caulk for the curvy part of the molding ( not pictured)
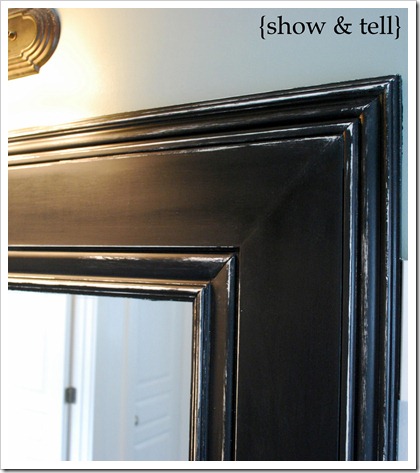
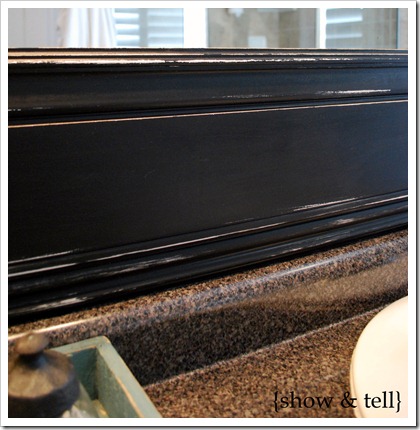
Then i gave everything a light sanding and painted it black. Of course i distressed the whole thing with my 60 grit sand block. Some people may find it easier to paint it 1st and then hang, not me, i want it up NOW to see what it looks like and then finish up with the details :)
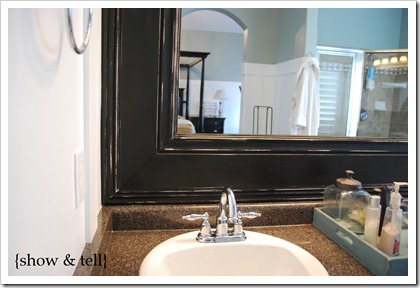
After…
You can see some “board and batten” going on in there – more to come on that later :) Also i will show you pics along the way of how i decorate the space, it really needs it!
And, because i have already gotten a ton of emails, “how do i do this with my mirror clips?”
I was lucky that i didn’t have mirror clips or that metal track along the top and bottom that some builders put in. BUT, if i did i would take off the clips/track and glue the mirror directly on to the wall. Of course that is a more permanent thing but you will love your mirror so much you wont want to move it anyways :) But, i really think that would be so much easier than trying to chisel out wood in the back of your frame to accommodate the clips. I also worry that if you have clips on the side, you might be able to see them? What do you guys think? Do you have a better solution for the clips?
***Edited to add – the correct glue that you would use to adhere your mirror directly to the wall is Mirror Mastic***
**The brand of adhesive that i used was Liquid Nails. The paint color is Sherwin Williams Comfort Gray – but i had it color matched by Lowes into Olympic Premium (my new favorite brand by the way)**
Total cost was $60 – i already had the black paint (canyon black by Valspar).
So with a couple of hours worth of work from start to finish i have a totally custom mirror. I still have a lot of work to do in this room (new light because the new mirror dwarfs it), decorating, some curtains? but for now, it works and its one project to cross of the never ending list :)
***i am sure i left off some details, but its past my bedtime!***
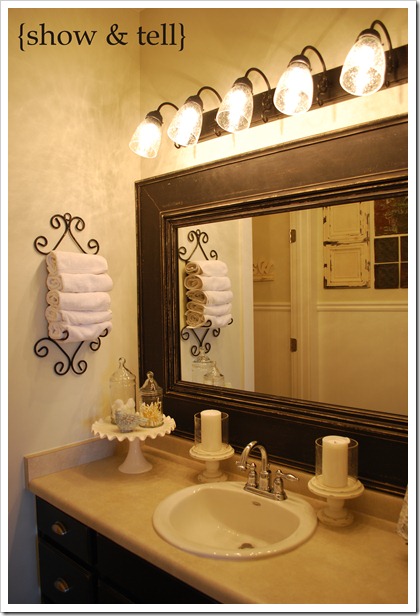
By the way, you can check out my kids bathroom mirror here (along with a ruffled shower curtain that i made…
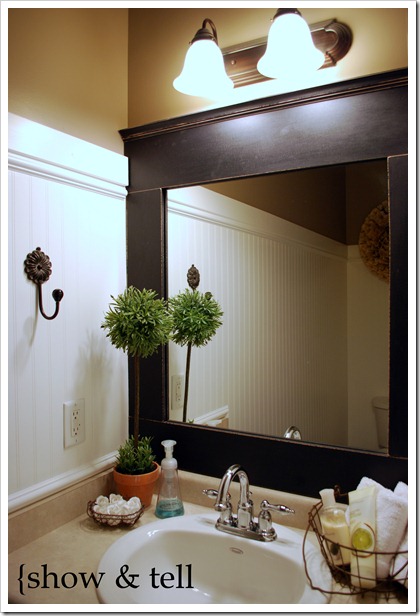
and then a simple framed mirror here in my 1/2 bathroom…
I will be linking up to these parties!

